Cedarville University provides secure off-campus access to network resources via a Virtual Private Network (VPN). While University faculty and staff are the primary users of GlobalProtect VPN, students may contact IT to download it if directed by their instructor. The instructions below will allow you to install and use our GlobalProtect VPN.
NOTE: There are some applications available to students without using the VPN; see CloudLab-Quick Users Guide.
Use the links below to quickly jump to a section in this article:
Note: Information Technology recommends that you connect to VPN at least once a month while working from home. This allows your computer to pull important configuration and licensing information from the on-campus network. Other than that, you may connect as often as you need to access on-campus resources or secure your traffic on public Wi-Fi networks.
Install the GlobalProtect VPN Client
The first step to using VPN is to install the GlobalProtect VPN client, which is a small piece of software that allows your device to connect to CU's GlobalProtect VPN.
On-Campus Windows (university-provided computers)
- While on campus, open Company Portal from your desktop.

- Using the search bar in the upper right-hand corner of the window, search for "globalprotect."
- Click "GlobalProtect VPN Client" and then click "Install."

- Wait for the install to finish.
- This installation also configures GlobalProtect for you automatically.
To connect, skip to Configure the GlobalProtect VPN Client for Cedarville VPN below.
On-Campus MacOS (university-provided computers)
- While on campus, open Company Portal from your Dock or use the spotlight magnifying glass in the upper right-hand corner to search for Company Portal.

- Using the search bar in the upper left-hand corner of the window, search for "globalprotect."
- Under GlobalProtect VPN, select Install.

- Wait for the installation to finish.
- When prompted, authorize GlobalProtect as a VPN provider for your computer. If prompted for an email address, enter globalprotect.cedarville.edu.
NOTE: If you don't see this prompt, you may need to go to System Preferences > Security & Privacy > General Tab and click [Allow] next to the prompt that reads "System software from developer 'Palo Alto Networks' was blocked from loading."
- To connect, skip to Connecting to GlobalProtect VPN below.
MacOS Off Campus & Personal Computers
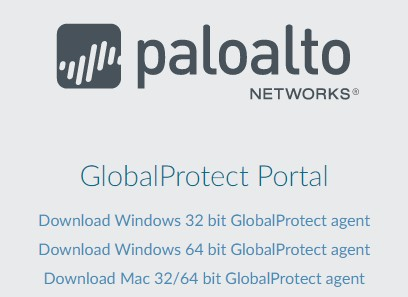
- In a browser, navigate to https://globalprotect.cedarville.edu.
- Sign in on the Cedarville login page using your Cedarville email address & password.
- Perform two-factor authentication (if required).
- Click "Download Mac 32/64 bit GlobalProtect agent."

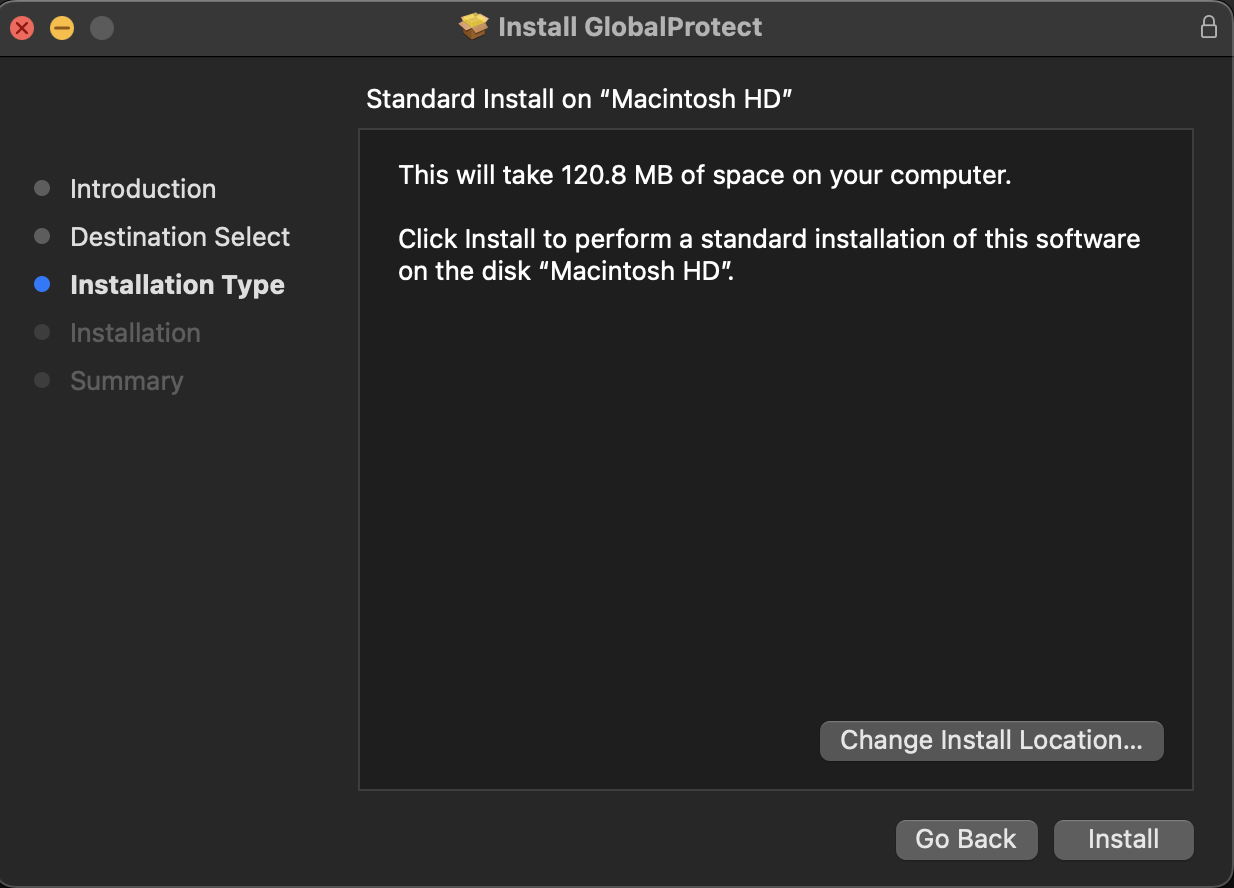
- Install the client by double-clicking the downloaded file, and following the onscreen instructions to install the client.
- If prompted to the screen below, authorize GlobalProtect as a VPN provider for your computer.

NOTE: If you don't see this prompt, you may need to go to System Preferences > Security & Privacy > General Tab and click [Allow] next to the prompt that reads "System software from developer 'Palo Alto Networks' was blocked from loading."

OR
- If prompted to the screen below, press "Continue."

Check "GlobalProtect," and click "Continue."
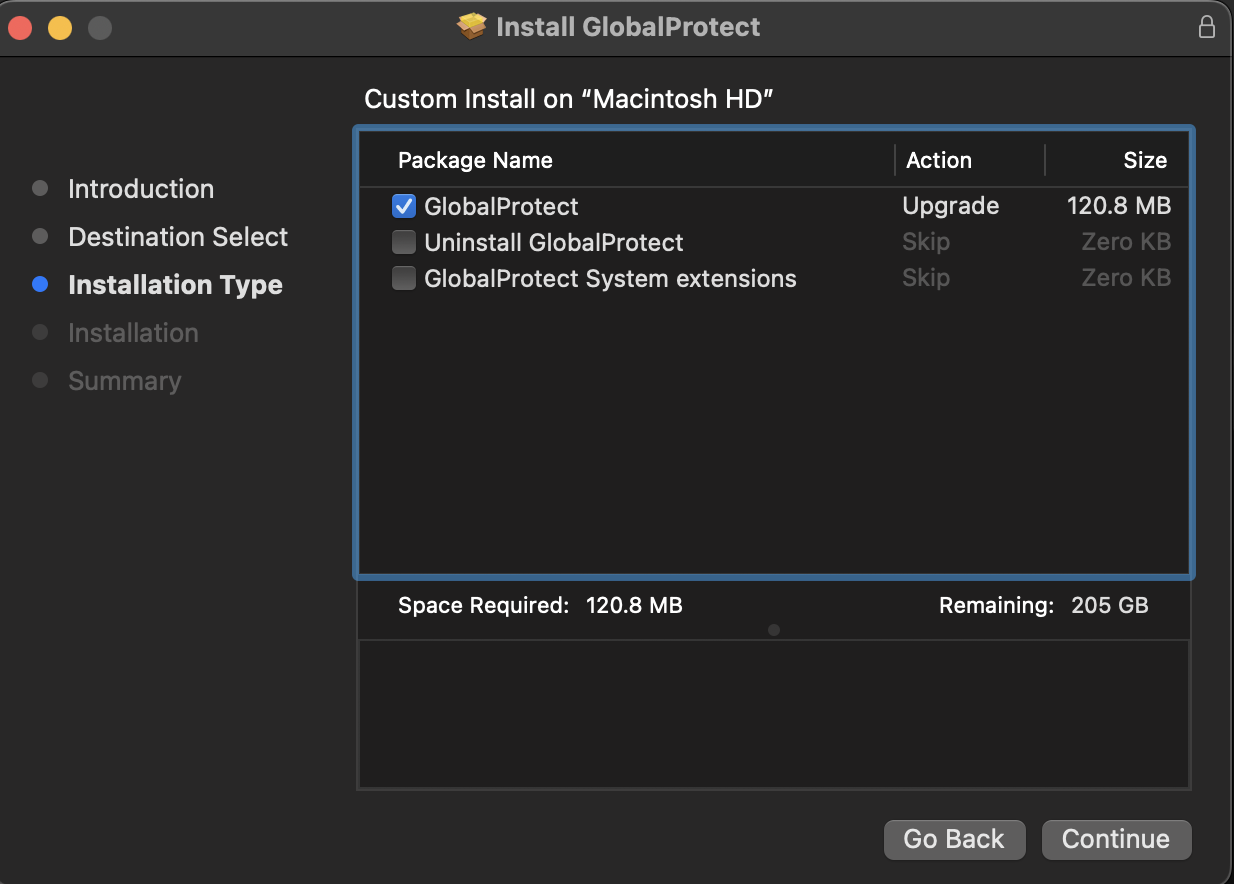
Click "Install."
- Once installed, open the application.
- Go to globalprotect.cedarville.edu.
- You should now be connected to the GlobalProtect VPN Client.
Windows Off Campus & Personal Computers
-
In a browser, navigate to https://globalprotect.cedarville.edu.
-
Sign in on the Cedarville-branded login page using your Cedarville email address & password.
-
Perform two-factor authentication (if required).
-
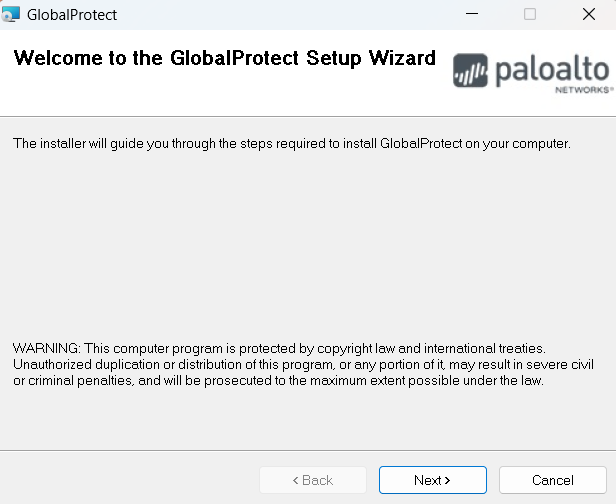
From the following page, click “Download Windows 64 bit GlobalProtect agent.”
(Note: Need an Arm64 version? Check the attachments/downloads on this article, on the right-hand sidebar)
-
(University-owned Windows computers only) You may need to use Run with Elevated Access to become an administrator before installing GlobalProtect.
-
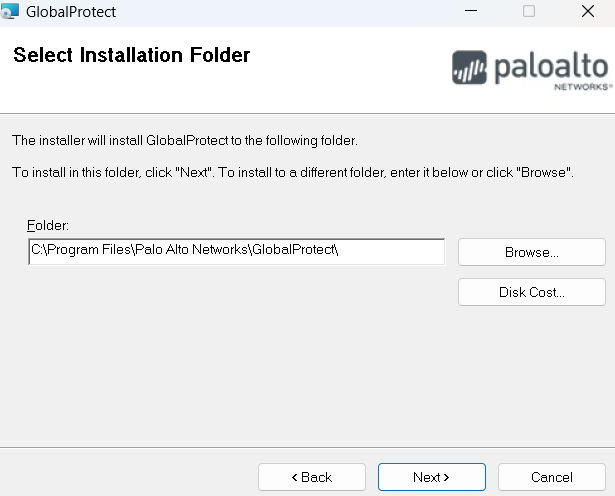
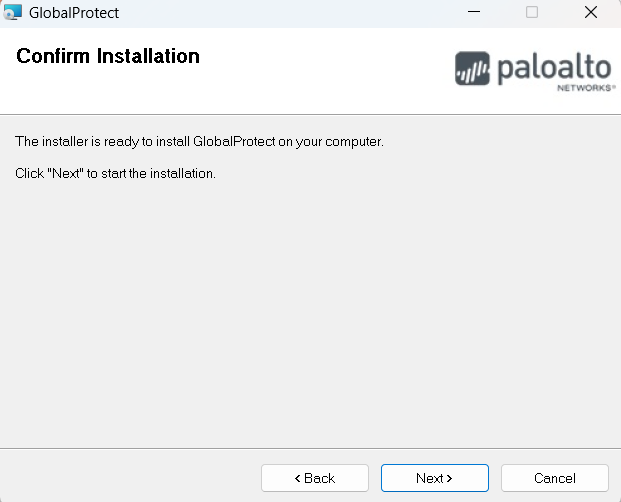
Install the client by double-clicking the downloaded file, and following the onscreen instructions to install the client.
-
Click “Next.”
-
Click “Next.”
-
Click “Next” again.

-
Click “Next” once more.
-
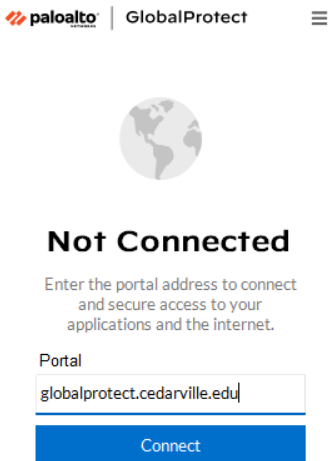
Once installed, type globalprotect.cedarville.edu into the Portal textbox.
-
Press “Next.”
You are now successfully connected to the GlobalProtect VPN Client.
Off Campus & Personal Computers (Linux)
- Download the TGZ installer file (will look something like PanGPLinux-6.1.3-c3.tgz).
- Open a terminal and start a sudo session sudo -i
- Unzip the file `tar -xvf {pathtodownloadedfile}/PanGPLinux-6.1.3-c3.tgz`
- Install the application run ./gp_install.sh
- Allow space to be used if applicable.
- When windows with "Welcome to GlobalProtect" shows up, put in portal address "globalprotect.cedarville.edu" (without the quotes).
- Select "Connect."
- Log in with email address, password, and Duo authentication.
- After connecting, you might get a window with the title "System Program problem detected", just click "Cancel." It may appear multiple times.
Mobile Devices (Android and iOS)
- From your mobile device, click one of the following links to download the GlobalProtect app for your device, or search your device's app store for "GlobalProtect."
Apple App Store
Google Play Store
- Install the app from the app store.
Configure the GlobalProtect VPN Client for Cedarville VPN
Once the client is installed, you'll need to configure your GlobalProtect VPN client. To do this, locate the Global protect app icon  in the following location and open it:
- iOS: Home Screen
- Android: Home screen/App Drawer
- MacOS: System bar at the top right-hand corner of the screen
- Windows: System tray at the bottom right-hand corner of the screen
- Linux: Either task bar or from the terminal (`globalprotect launch-ui`)
- Global protect will prompt you for a portal address.

- Enter globalprotect.cedarville.edu and press [Connect].
- You may be prompted to allow this software to make changes to your device's VPN settings. Confirm that you would like to allow these changes. You may be prompted for a password, passcode or biometric authentication.
- Next, you will be redirected to the Cedarville-branded login page. Log in using your Cedarville email address & password, and perform two-factor authentication (if required).
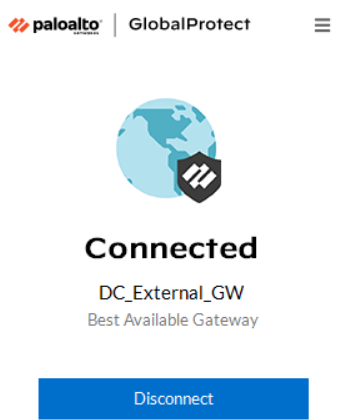
- Once you sign in successfully, GlobalProtect will connect you to the VPN service.
- You can verify that you are connected by opening the globalprotect app again. It should show something like the following, depending on what platform you are using.

- On subsequent sign-ins, you will not have to enter the portal address, and if you use two-factor authentication, you may check the box on the Duo authentication screen to remember your device and skip two-factor authentication for 31 days.
Disconnecting from GlobalProtect VPN
To disconnect from the GlobalProtect VPN, follow the instructions below, based on the type of device you have:
- iOS: Tap the GlobalProtect icon on your home screen to open the app, and tap the circle in the center to disconnect.
- Android: Tap the GlobalProtect icon in the app drawer to open the app, and tap the circle in the center to disconnect.
- MacOS: Click the GlobalProtect icon in the menu bar at the top of your screen, and click "Disconnect" to disconnect.
- Windows: Click the GlobalProtect icon in the system tray near the clock in your taskbar, and click "Disconnect" to disconnect.
Connecting to GlobalProtect VPN
After configuring and connecting for the first time, of if you've installed GlobalProtect from Company Portal, you can follow the instructions below to connect:
- iOS: Tap the GlobalProtect icon on your home screen to open the app, and tap the circle in the center to connect.
- Android: Tap the GlobalProtect icon in the app drawer to open the app, and tap the circle in the center to connect.
- MacOS: Click the GlobalProtect icon in the menu bar at the top of your screen, and click "Connect." If you can't find the GlobalProtect icon, use Spotlight by clicking on the magnifying glass icon in the upper right corner of your screen, and search for "GlobalProtect" and open the app.
- Windows: Click the GlobalProtect icon in the system tray near the clock in your taskbar, and click "Connect." If you can't find the GlobalProtect icon, click the Start Button and type "GlobalProtect" and to find and open the app.
You will be taken to the CU-branded login page. Log in, and perform 2-factor authentication.